Sublimation printing has become a popular choice for DIY enthusiasts and small businesses looking to create vibrant, high-quality, and long-lasting designs. If you’re new to sublimation printing or curious about how SVG files fit into this process, you’re in the right place. This guide will walk you through everything you need to know about using SVGs for sublimation printing, including step-by-step instructions, tips for getting the best results, and creative project ideas.
What Is Sublimation Printing?
Sublimation printing is a process where heat and pressure transfer dye directly into materials like polyester fabrics, ceramic, or coated surfaces. Unlike vinyl or iron-on transfers that sit on top of the material, sublimation becomes part of the material itself, resulting in a smooth, durable, and professional-looking finish.
Why SVG Files Are Perfect for Sublimation Printing
SVG (Scalable Vector Graphics) files are a go-to format for crafters and designers because they are resolution-independent. This means they can be scaled to any size without losing quality, making them ideal for sublimation printing projects of all shapes and sizes. Here’s why SVGs stand out:
- Editable: SVGs can be customized easily. You can change colors, resize elements, or combine designs to create something truly unique.
- Sharp Details: The vector nature of SVG files ensures crisp lines and perfect detailing, even on large prints.
- Versatility: SVG files work great for various projects, from t-shirts and mugs to tote bags and keychains.
Step-by-Step Guide to Using SVGs for Sublimation Printing
Here’s how you can turn an SVG design into a stunning sublimation project:
1. Choose the Right Tools and Materials
Before you start, make sure you have the following essentials:
- A Sublimation Printer: A printer with sublimation ink installed. Popular brands like Epson and Sawgrass are widely used for this purpose.
- Sublimation Paper: This special paper holds the sublimation ink before transferring it onto your material.
- Heat Press Machine: A heat press is needed to apply the necessary heat and pressure to your project.
- Polyester or Sublimation-Friendly Materials: Sublimation works best on materials with a high polyester count (e.g., shirts, mugs, phone cases).
- Design Software: Software like Adobe Illustrator, Canva, or Cricut Design Space to edit and export your SVG designs.
2. Edit Your SVG Design
Most SVG designs are ready to use, but you might want to tweak them to fit your specific needs. Here’s how you can edit your SVG design:
- Resize the Design: Ensure the SVG fits the dimensions of your project (e.g., a shirt pocket or the face of a mug).
- Customize Colors: Adjust the colors to match your aesthetic or brand. Sublimation produces vibrant results, so choose colors accordingly.
- Mirror the Image: For text-based designs, always mirror the image in your design software before printing. This ensures the text reads correctly after transferring.
3. Print the Design
Once your SVG is ready, it’s time to print:
- Load sublimation paper into your printer.
- Print the design using your sublimation printer and ensure the settings match your project requirements (e.g., high quality and mirror image).
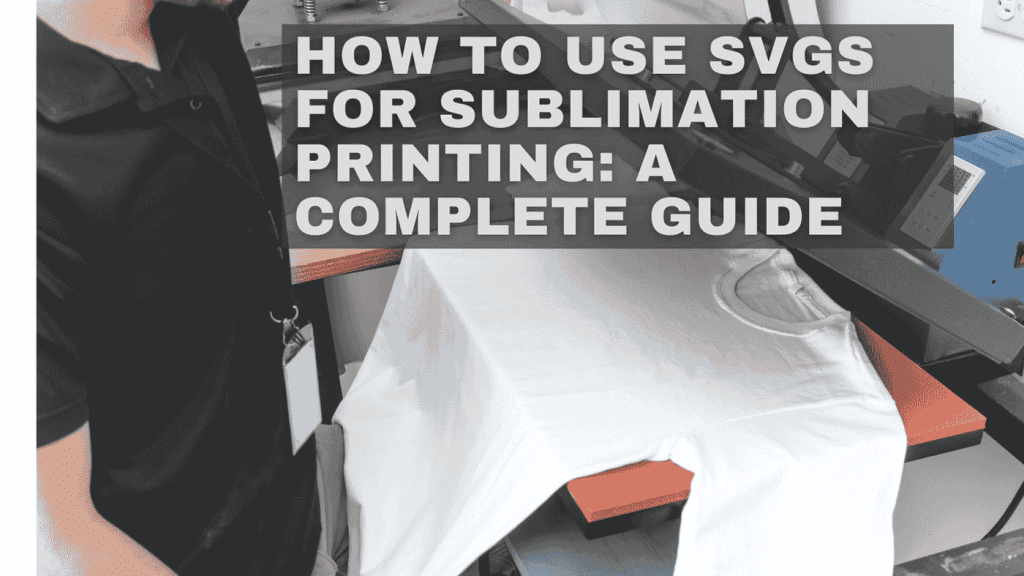
4. Heat Press Your Design
Now that your design is printed, follow these steps to transfer it onto your material:
- Preheat your heat press machine according to the material you’re using (e.g., 400°F for polyester fabric).
- Place the sublimation paper (printed side down) onto your material.
- Press it using your heat press machine for the recommended time (usually 60 seconds for fabric).
- Gently peel off the sublimation paper to reveal your vibrant design.
Creative Project Ideas for Sublimation Printing
Now that you know how to use SVGs for sublimation, here are some creative ideas to try:
- Personalized Mugs: Use SVGs to create custom designs for gifts or small businesses.
- T-Shirts and Hoodies: Sublimation works best on polyester garments, allowing for long-lasting, high-quality prints.
- Home Décor: Add custom designs to throw pillows, coasters, or wall art for a personalized touch.
- Tote Bags: Make unique tote bags with SVG patterns, quotes, or monograms.
- Business Branding: Create branded products like mouse pads, water bottles, and notebooks with your logo.
Tips for Perfect Sublimation Printing with SVG Files
Here are some additional tips to ensure your sublimation projects turn out beautifully:
- Use High-Quality SVG Files: Always start with a clean and well-designed SVG to avoid blurry or distorted prints.
- Test Print: Before using your actual material, print a test version on regular paper to check colors and alignment.
- Use Heat-Resistant Tape: Secure the sublimation paper to your material with heat-resistant tape to prevent shifting during pressing.
- Work in a Ventilated Area: Sublimation printing can release fumes, so ensure proper ventilation in your workspace.
Conclusion
Sublimation printing is an exciting and versatile technique for creating vibrant, professional-quality designs. With SVG files, the possibilities are endless. From personalized gifts to small business branding, SVGs allow you to unlock your creativity and bring your ideas to life with ease.
If you’re ready to get started, check out our free SVG designs to find the perfect files for your next project. Don’t forget to share your creations with us—we’d love to see what you make!


